
|
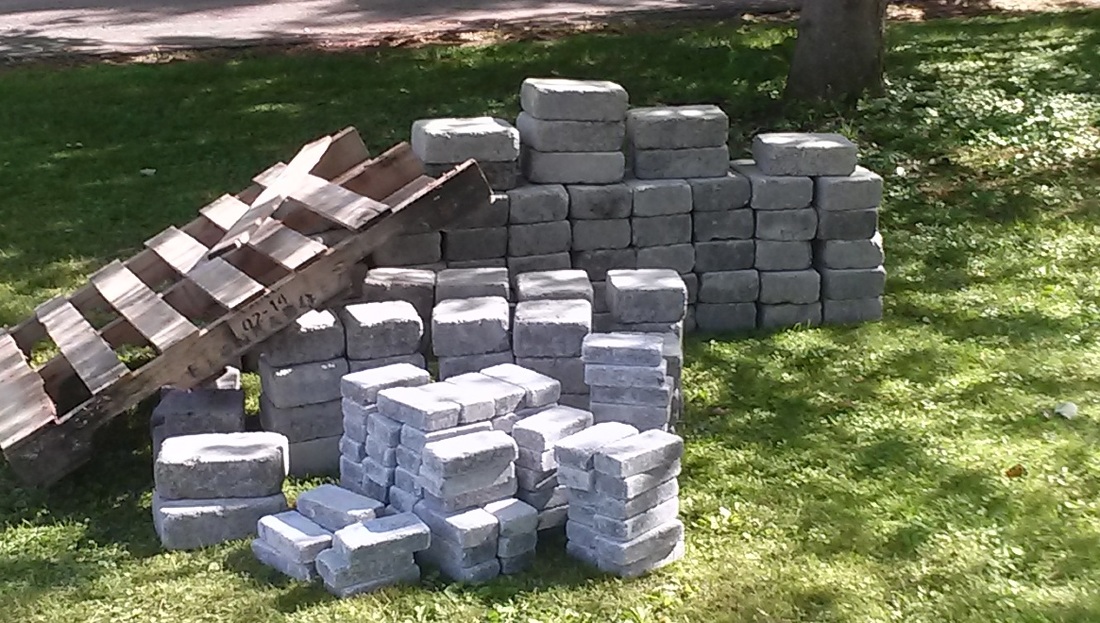
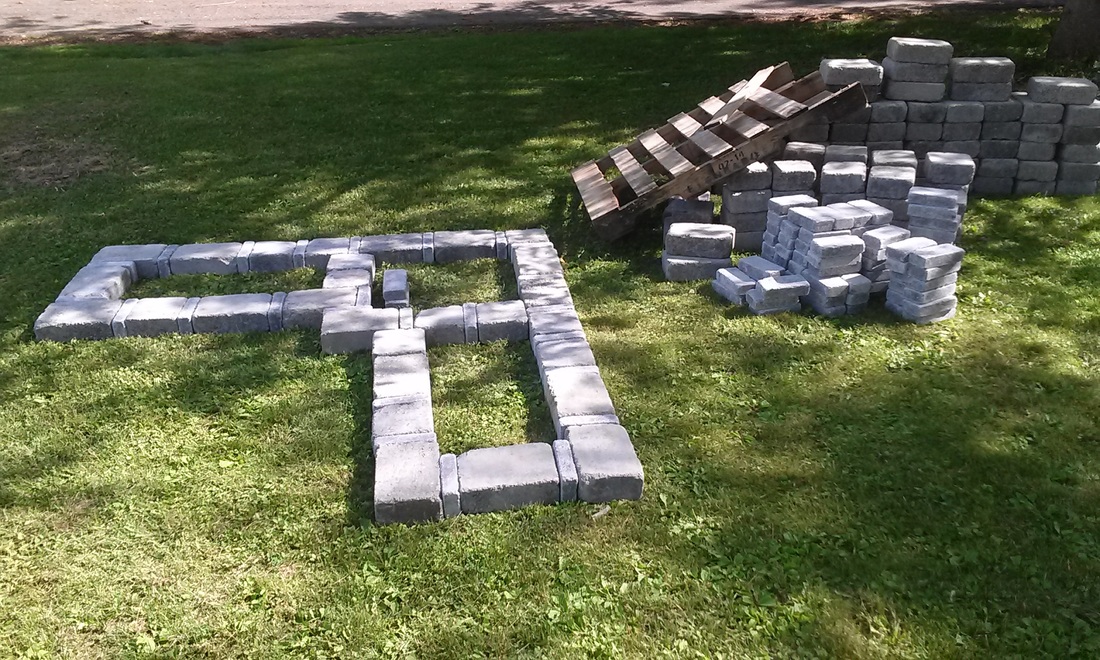
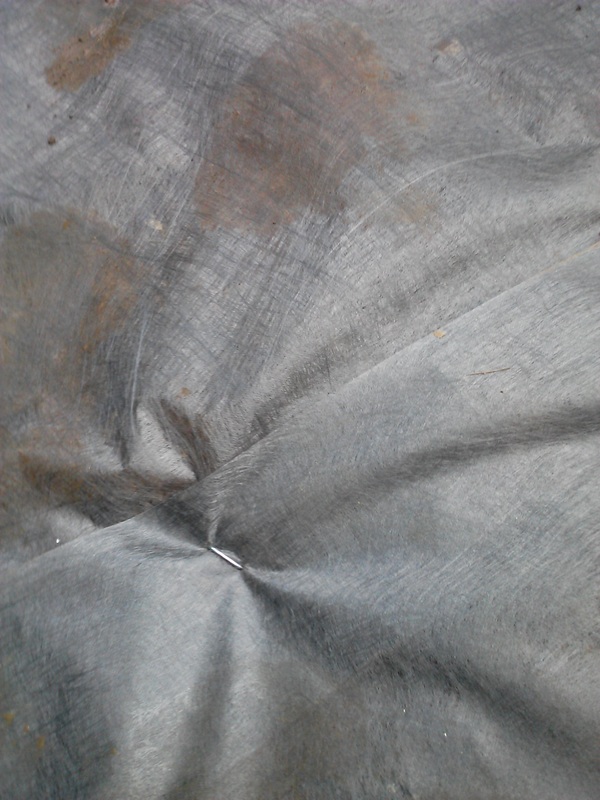
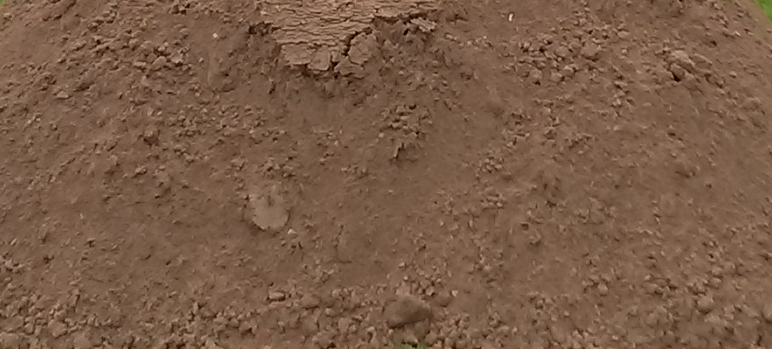
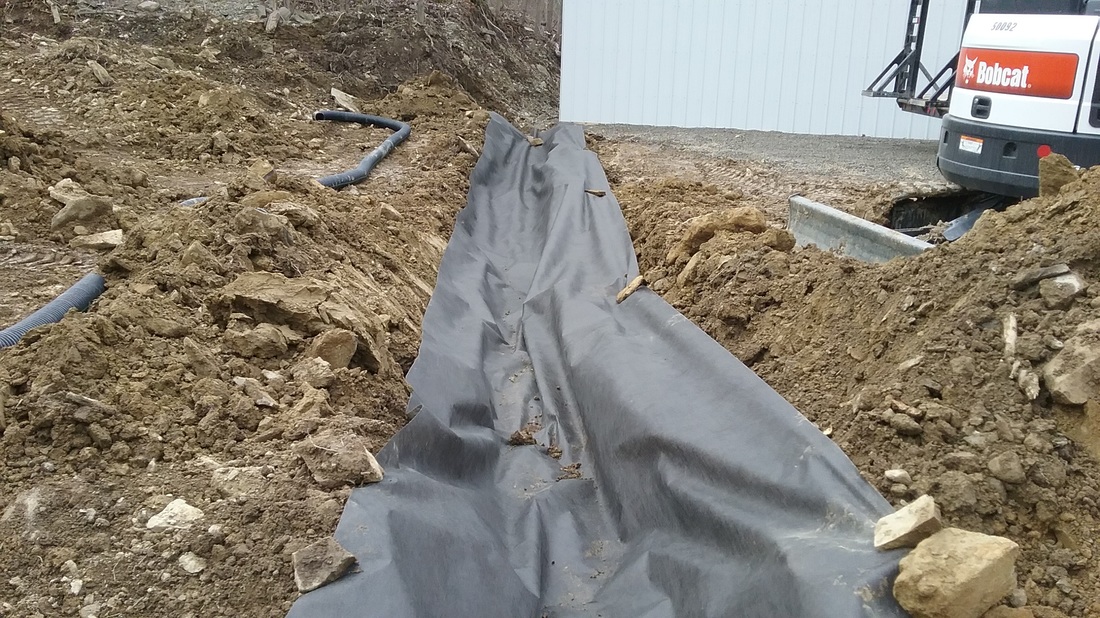
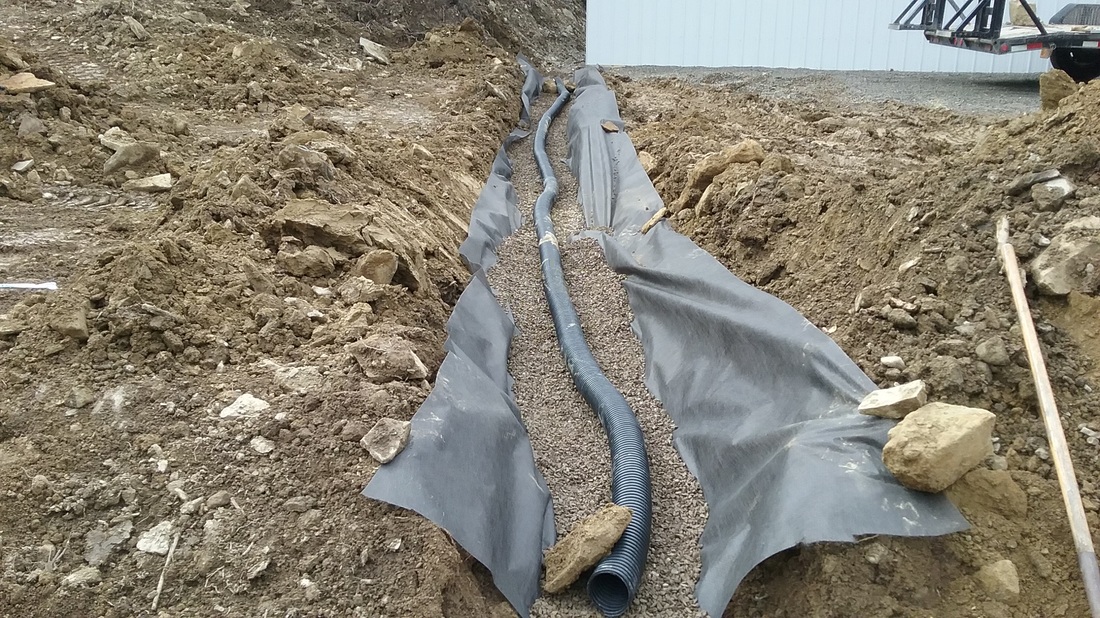
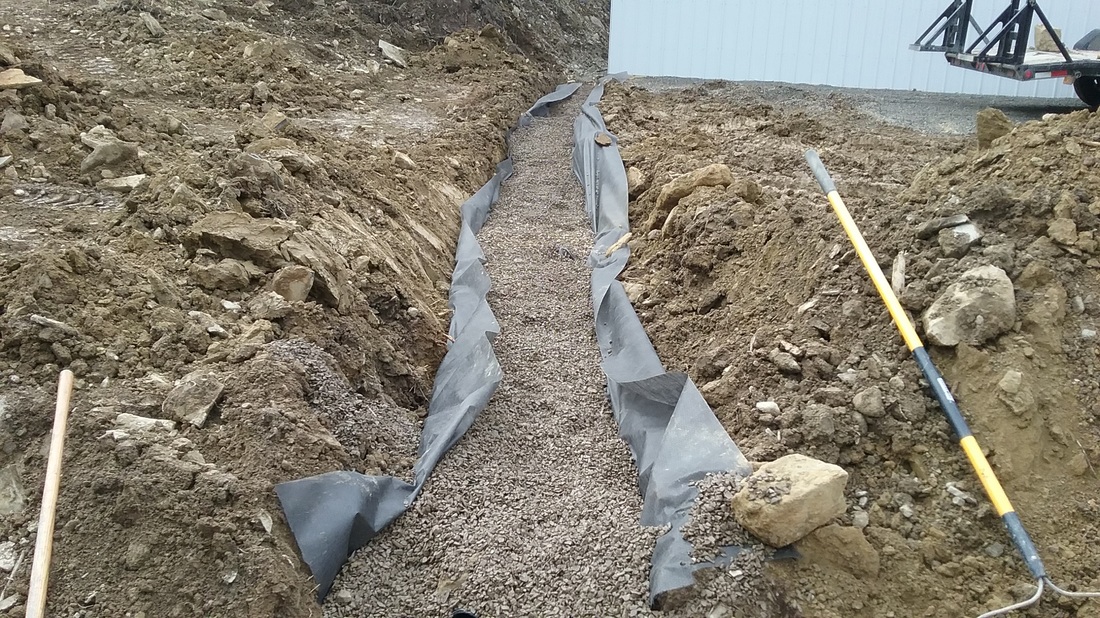
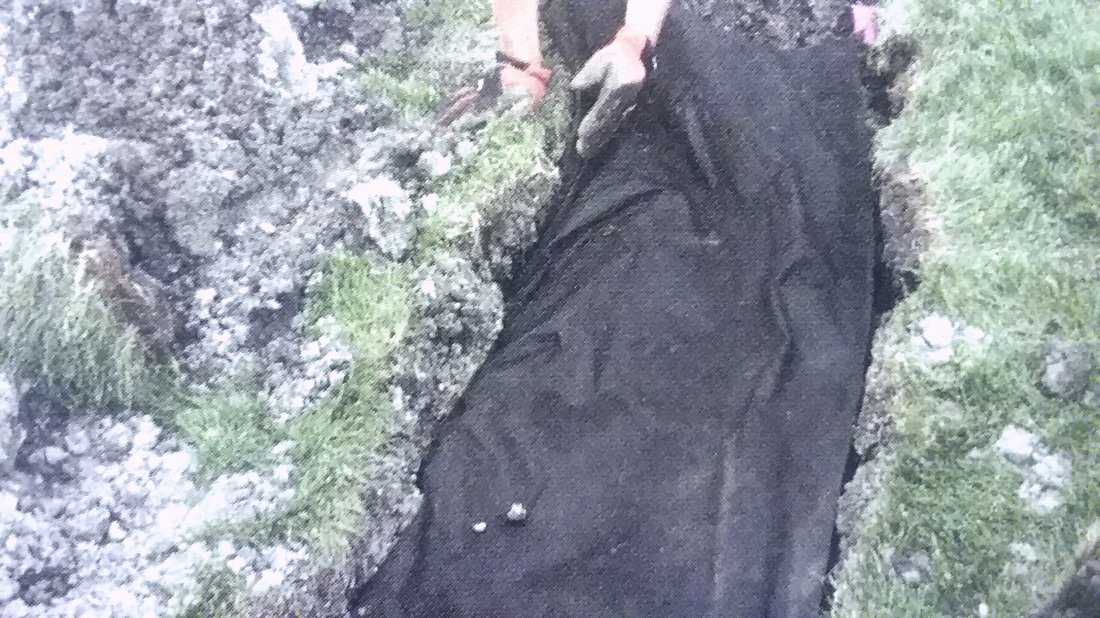
Are you excited to get outside and start a weekend project? How about building a stone planter to boost your curb appeal. Get the project done in time to add your favorite spring plants.  Tools you will need: A wheel barrow, shovel, stakes, level, hand tamp, stone rake, caulk gun, and rubber mallet. Don't forget your safety gear like gloves, and safety glasses. Next you will need to estimate the materials needed. Some landscape supply stores offer kits to choose from, others may have plans online that you can follow, or you can just choose your block and create your own lay out. For this project we used three different size stones. Materials that you may need could include Landscape blocks, drainage stone, landscape block adhesive, paver base, leveling sand, landscape fabric, and topsoil. Begin the project by outlining the planter. Arrange the various sized stones in the pattern that you choose. Once you have laid out the planter design dig out the base. Excavate at least 7 inches deep depending on location. Once the area is roughly excavated drive stakes in the ground by each corner and set up level lines so that you can check your depth. Dig as needed or add fill until the entire base is level. Then install 3" paver base and use a hand tamp to compact it. Add base and compact until your depth is half of one block, plus one inch for leveling sand at the ground level. Add one inch leveling sand to make easy work of final adjustments of your base row. Start building your walls by laying your base course. Use the rubber mallet to set blocks in the sand. Check for level and ensure blocks are flush with each other as you place them. For added strength stagger the joints as you start the next row. Use a caulk gun to lay beads adhesive as you stack the courses. Keep building up each tier until you reach the desired height.  We don't want the planter to fill up and hold water that could later freeze and cause problems down the road. To keep this from happening as we build the courses we fill each one almost to the top with stone. This also adds support to the structure. Then as you near the top add landscape fabric to keep create a separation before adding the soil. Sandwich the edges of the fabric in between the layers of stone before applying the adhesive. Once all this is done you can add your soil. We use an organic mix topsoil that works great. Once complete you can top it all off with potting soil and add your plants. Get creative and plant whatever you like: vegetables, herbs, annuals, and perennials. Plant your favorites. 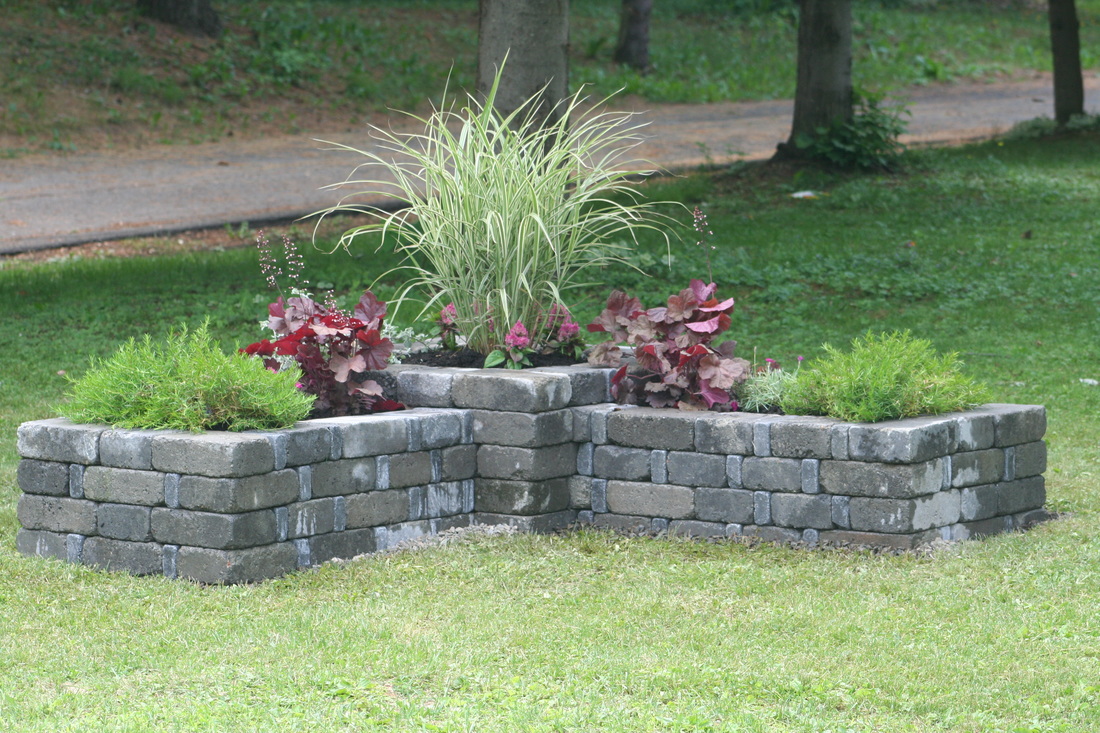 When water pools and collects it can threaten buildings, landscapes, and create many drainage dilemmas. A properly installed French drain may be the answer. In some cases a modest drain can be installed with hand tools, but when bigger drains are needed it would be more efficient to use equipment such as a compact excavator. Once you have determined your drainage needs, and figured out the drain size needed. Check for potential obstacles underground (also call 811 before you dig hotline to find out if any underground utilities lie in the planned path of your drain). Estimate the materials needed such as drainage pipe, crushed stone, and landscape fabric. Don't forget connectors if needed as well as seed, and straw, or sod if you are trenching through a lawn. Set up a laser transmitter to measure depth and slope. 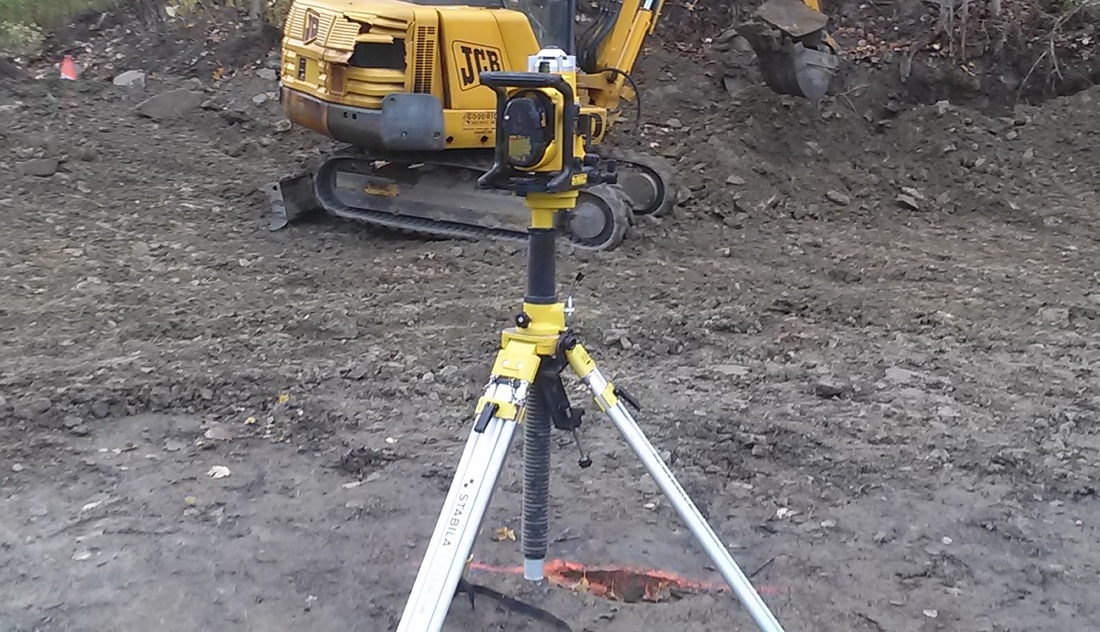 Dig entire trench. Stop periodically to check your depth and slope or place a laser transmitter on the arm of the excavator. Level bottom of drain and roll out landscape fabric. 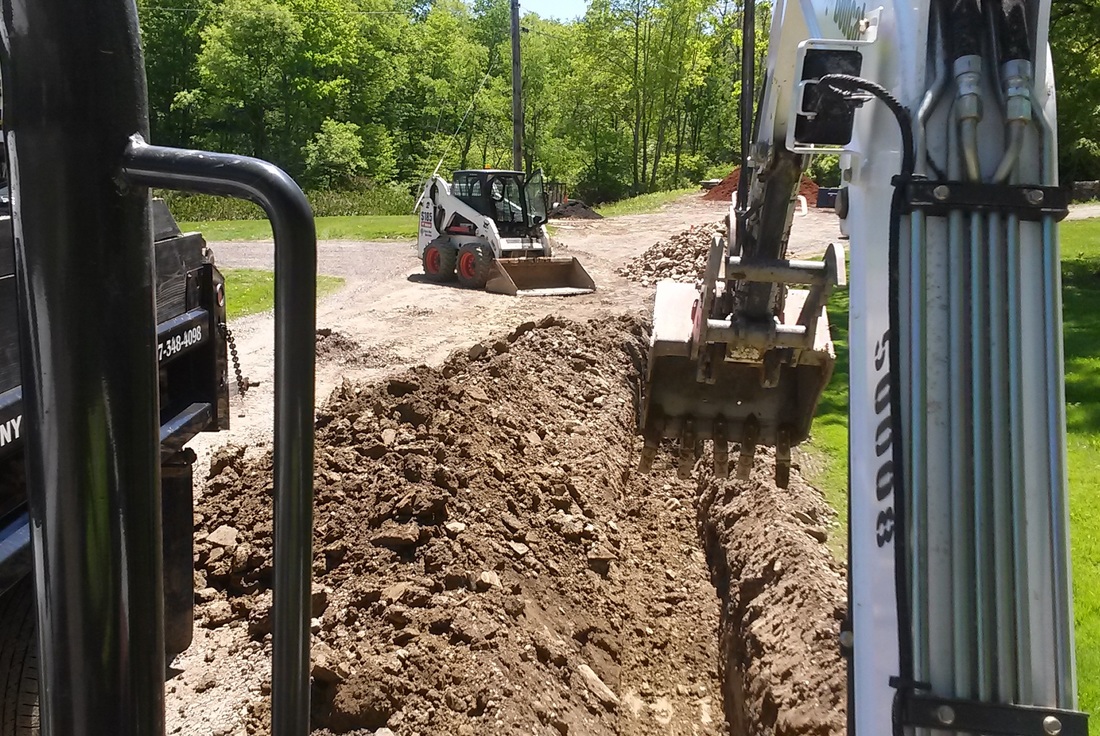 After the fabric is in place add approximately 2 inches of stone evenly on top of the fabric along the base of the trench. Cap the beginning of the system. Lay the drain pipe. Fill the trench with stone keeping the pipe in the center of the ditch. Keep adding stone until you have filled the ditch to within 4 inches of the top. Fold the landscape fabric over the top. This helps keep soil from mixing into the stone and eventually clogging the drain. Backfill the trench with topsoil soil, and allow the materials to settle reestablishing the previous grade. The French drain can then be covered with Turf, mulch, or previous materials making it virtually invisible. If you have a wet basement, or water pooling and collecting in unwanted areas you may be able to fix your water problems once and for all by installing a French drain. One final note: the French drain did not originate in France, but was invented by Henry Flagg French who lived in Concord, Massachusetts.
|
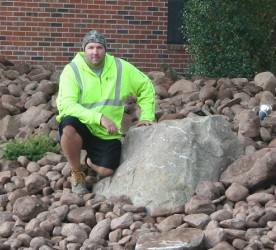
AuthorAdam is the Operating Manager at Cents- Able Solutions, LLC. Archives
January 2017
Categories |


 RSS Feed