|
If you have a project that you’re looking to start in the spring, there are some good reasons to start planning even though winter is far from over. Now that we have moved out of the holiday months, you can start planning for that landscaping project now, before the snow begins to melt.
A few reasons why you should start planning now: 1) You get longer to enjoy it! If your lawn/garden/flowerbeds are installed in the spring, you have all summer to enjoy it, as opposed to if it’s installed later in the summer. Remember other people are also planning for their projects and if they are scheduled first you will have to get in line. 2) Early planning also means that you have time to gather ideas, get pricing, and work your budget. Before starting any landscape project you should determine how much you want to spend. Starting now allows time to get estimates, make changes, and save toward your budget. 3) You can save money! Planning ahead can allow time to pre order supplies, group items together for delivery, and save you in several ways.
If you need help with your spring and summer projects click on the contact us tab at www.cents-ablesolutions.com or call 607-348-4098 Winter is a time when significant damage can occur to landscape plants. I'm talking about deer causing damage and even death to your landscape plants. Deer can consume 6 to 8 pounds per day and can cause damage as much 6 feet high.
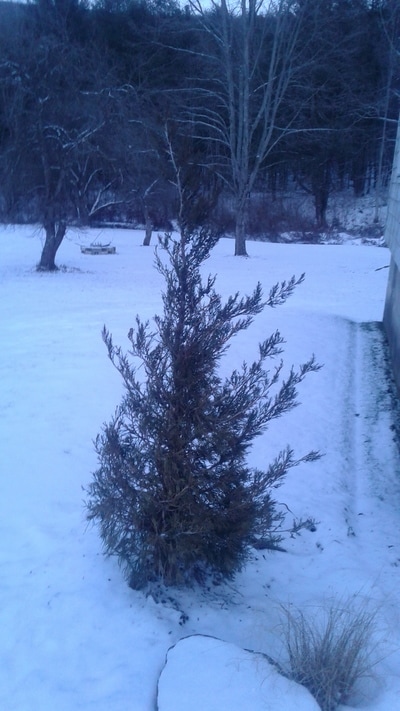
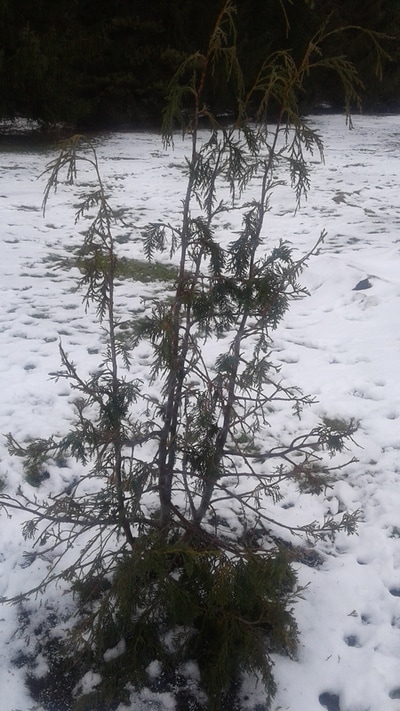
My inspiration for this blog: We have quite a few deer that roam our property and enjoy eating from our fruit trees and feeding on our grass (Well we do have some pretty great grass here at Cents-Able Solutions LLC). These deer recently consumed a half a dozen pumpkins that we had discarded along the edge of the woods. We noticed the pumpkins where gone overnight. Then a few days later I realized they had found a new snack. Our cute friendly deer family that sought refuge on our land for many years had suddenly turned against us! They had fed upon our landscaping plants. I first noticed a five foot Hetzi Juniper right next to the house was showing signs of damage. The next day a weeping Alskan Cypress, that I had been growing for many years, had been stripped to the point of it looking like a Charlie Brown Christmas tree. This tree, that can grow as tall as 80 feet tall, may now be so injured that it can not recover. Deer damage should be expected and is common in our area. It can be minimized, or even prevented. WAYS TO PREVENT DEER DAMAGE: Planning to minimize damage 1. If it is an option before planting choose an area that has as much open space as possible between the wooded edges of the forest and your landscape. 2. Plant things that the Deer do not like to eat. Choose plants like boxwood, birch, and colorado blue spruce. These plants are generally left alone by deer. If the winter is harsh enough deer can start to munch on the alleged deer resistant species of shrubs, along with eating the bark off twigs and causing extensive damage. Remeber that Hetzi Juniper planted right next to the house. That is considered an 8 on the deer resistant scale of 1 to 10. Ten being the most deer resistant species. So even the best planning cannot guarantee that the deer will leave your plants alone. Repellants 1. Contact repellants- these products are applied directly to the plant to make it taste bad. This can be the most effective type of repellant. Choose the right product and it only needs to be applied once each winter. 2. Area repellants- make the area smell bad. Area repellents are placed in a problem area and repel by their foul odor. The effectiveness can depend on how often it is applied. Generally these products must be used in the Fall and reapplied through out the winter. 3. Home-remedy deer repellents are questionable at best. These may include bags of human hair, or bar soap grated around the area, among others. I have not found any of these to be a en effective deterrent to a hungry deer. Remember deer also carry ticks which can carry lyme disease. This may be another reason that you would want to deter deer from nearby your home. Fencing To successfully protect your landscaping from unwanted pests you can erect a fence. Keep in mind that deer can jump as high as 8 feet, so choose a fence that is at least this tall. The biggest draw back to fencing is the time and effort that it takes to put up and take down. Once it is down for the spring and summer you will need a place to store it. Burlap Wrapping your evergreens in burlap has been an effective way to protect them from winter damage caused by winds and freezing. This can also be an affective deterent to the deer if you only have smaller plants that you want to protect. That weeping alaskan cypress had been wrapped in burlap for the past few winters to protect it. This year I felt it was established enough to withstand the elements. Wrapping it could be what prevented any deer damage in the past. If you only have smaller shrubs to protect, you may want to simply wrap them in burlap. Not only does this protect them from grazing deer, but it protects the shrubs from drying out in the cold winter winds. Inspect your landscaping for signs of deer damage. Remove food sources such as bird feeders, and remember those discarded jack o lanterns? Maybe start a repellant program today, and even sign up with us to get your property treated to protect against ticks in the spring. The deer are hungry. Snow cover on the ground and factors like a low apple crop this year could mean more deer damage than previous years. Many times winter can sneak up on us before we have time to finish up all those outdoor lawn and garden tasks that we had planned to complete. Other garden tasks are not as imperative and may be left for spring. I have put together a list of 5 basic lawn and garden tasks that should be a priority before the snow flies.
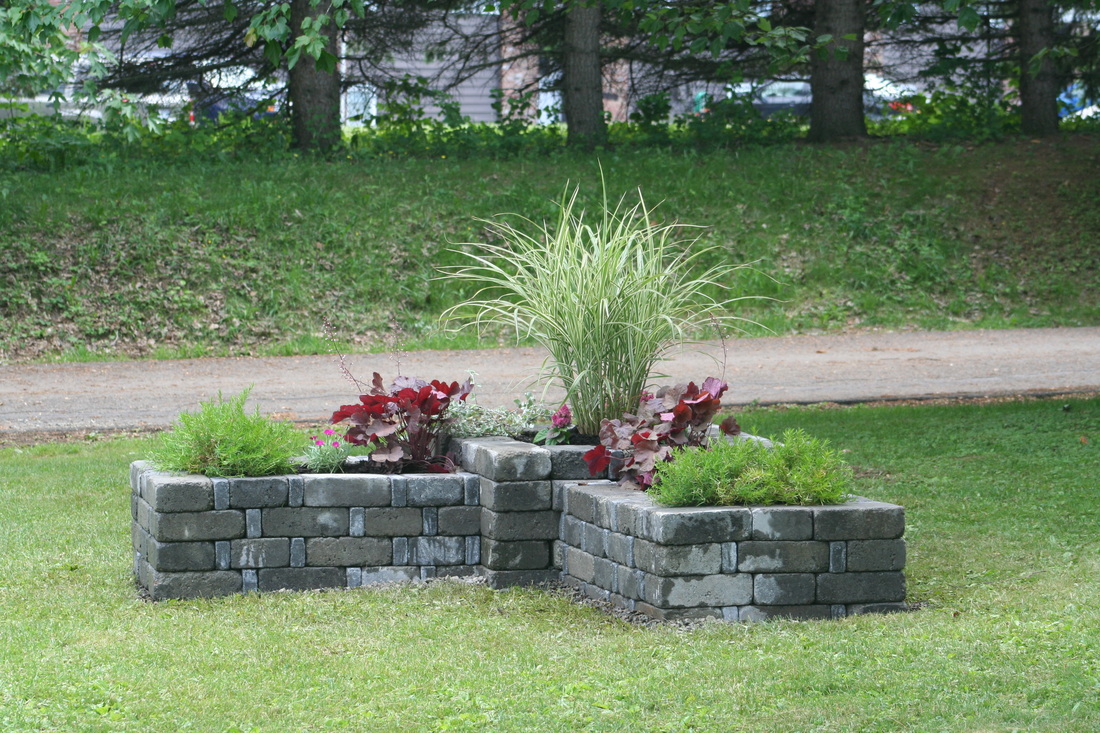
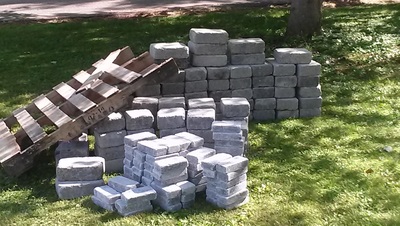
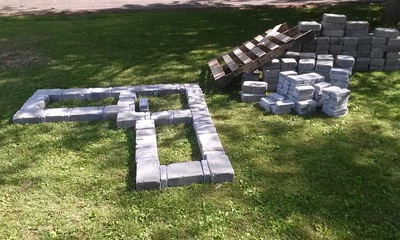
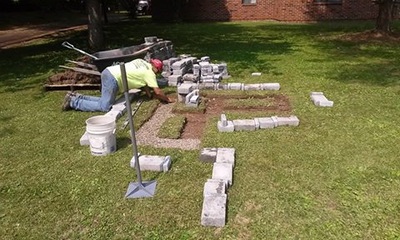
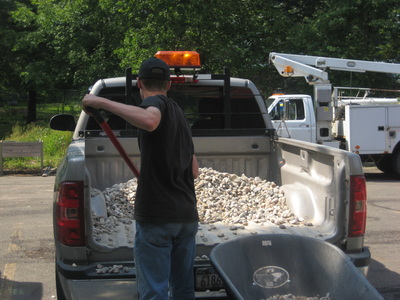
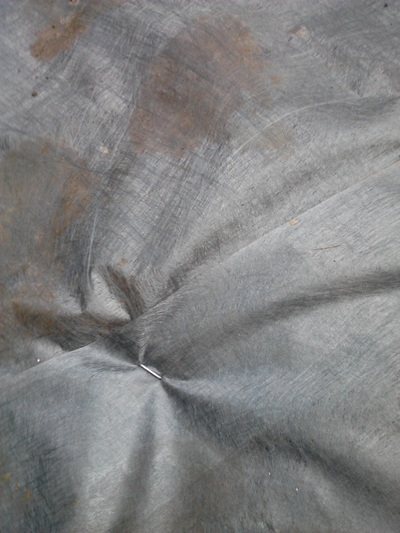
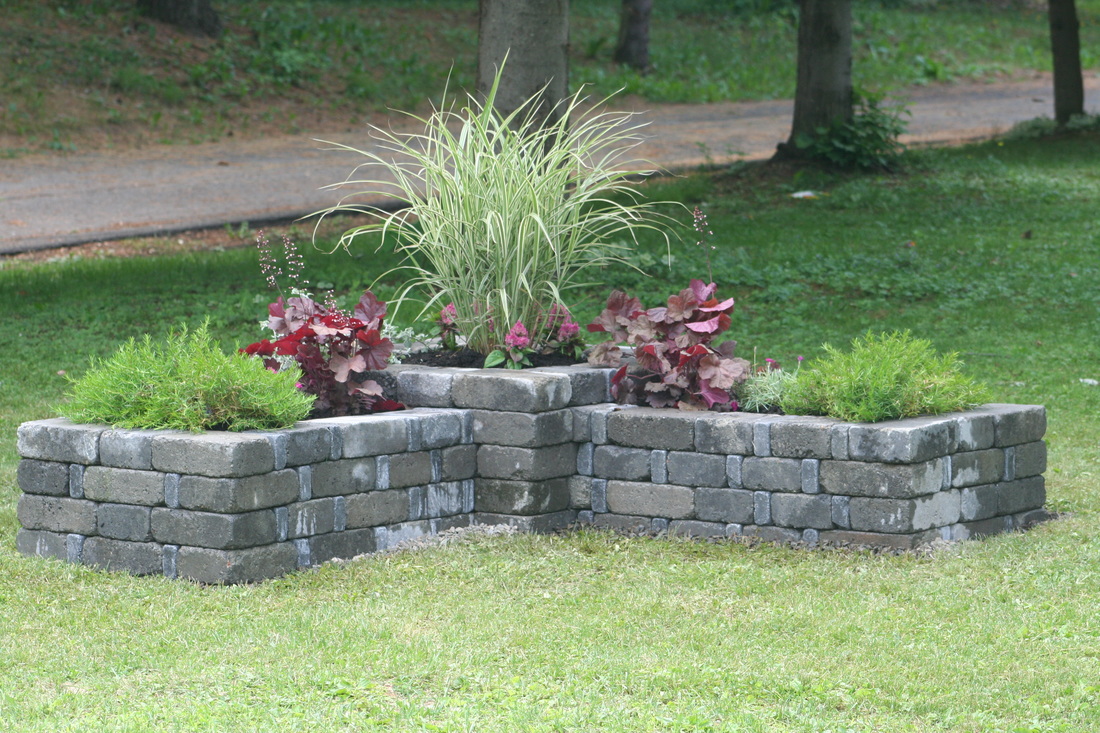
Are you excited to get outside and start a weekend project? How about building a stone planter to boost your curb appeal. Get the project done in time to add your favorite spring plants. Tools you will need: A wheel barrow, shovel, stakes, level, hand tamp, stone rake, caulk gun, and rubber mallet. Don't forget your safety gear like gloves, and safety glasses. Next you will need to estimate the materials needed. Some landscape supply stores offer kits to choose from, others may have plans online that you can follow, or you can just choose your block and create your own lay out. For this project we used three different size stones. Materials that you may need could include Landscape blocks, drainage stone, landscape block adhesive, paver base, leveling sand, landscape fabric, and topsoil. Begin the project by outlining the planter. Arrange the various sized stones in the pattern that you choose. Once you have laid out the planter design dig out the base. Excavate at least 7 inches deep depending on location. Once the area is roughly excavated drive stakes in the ground by each corner and set up level lines so that you can check your depth. Dig as needed or add fill until the entire base is level. Then install 3" paver base and use a hand tamp to compact it. Add base and compact until your depth is half of one block, plus one inch for leveling sand at the ground level. Add one inch leveling sand to make easy work of final adjustments of your base row. Start building your walls by laying your base course. Use the rubber mallet to set blocks in the sand. Check for level and ensure blocks are flush with each other as you place them. For added strength stagger the joints as you start the next row. Use a caulk gun to lay beads adhesive as you stack the courses. Keep building up each tier until you reach the desired height. We don't want the planter to fill up and hold water that could later freeze and cause problems down the road. To keep this from happening as we build the courses we fill each one almost to the top with stone. This also adds support to the structure. Then as you near the top add landscape fabric to keep create a separation before adding the soil. Sandwich the edges of the fabric in between the layers of stone before applying the adhesive. Once all this is done you can add your soil. We use an organic mix topsoil that works great. Once complete you can top it all off with potting soil and add your plants. Get creative and plant whatever you like: vegetables, herbs, annuals, and perennials. Plant your favorites.
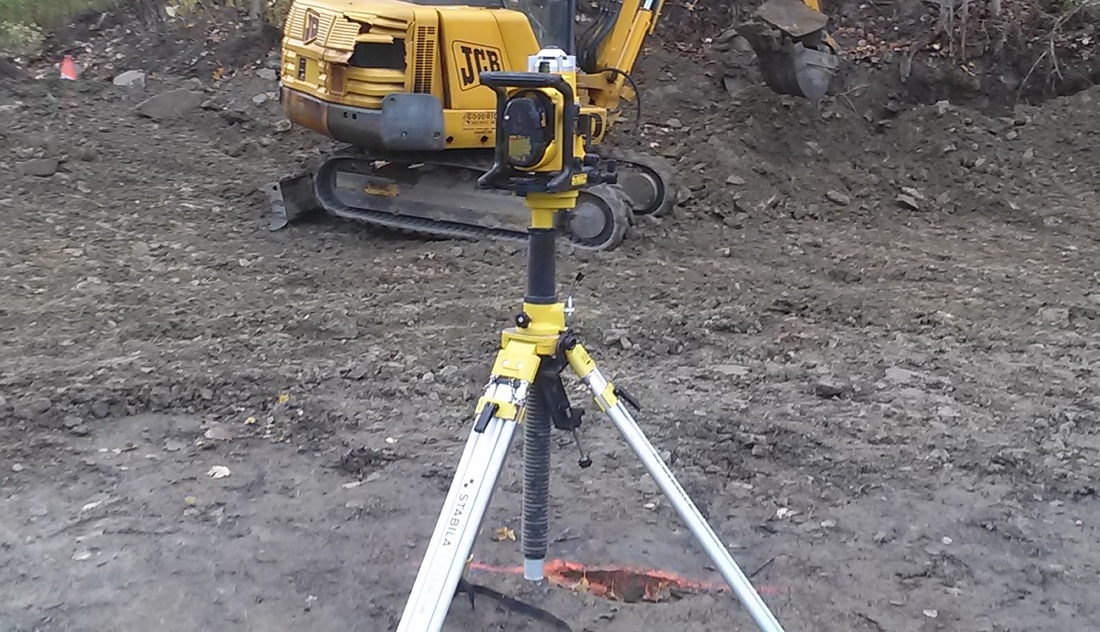
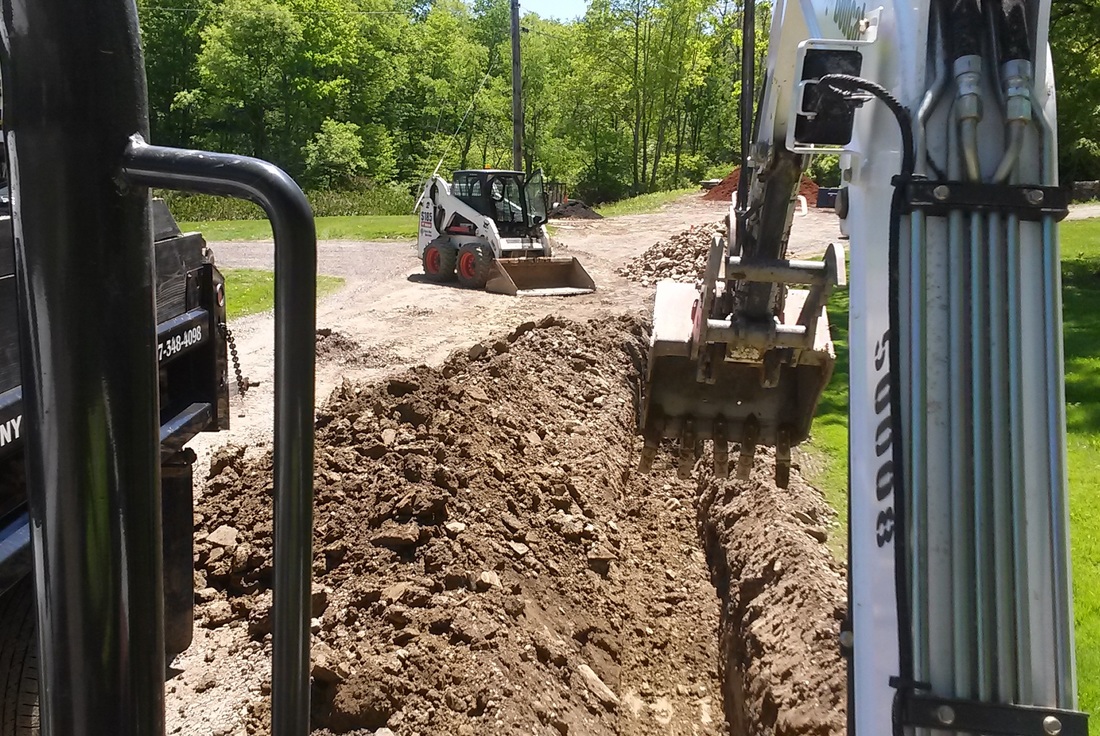
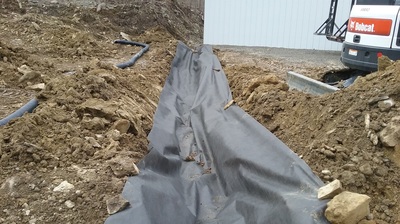
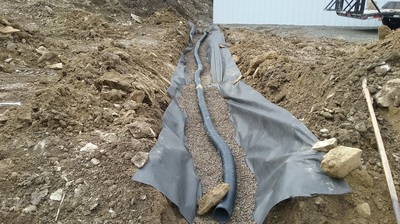
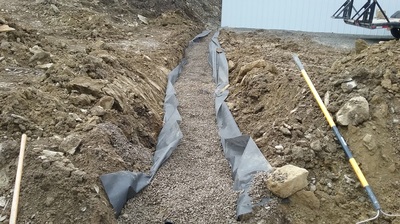
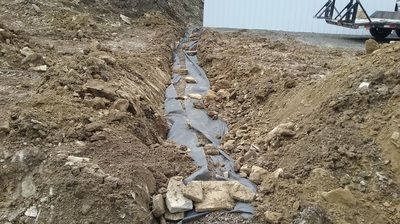
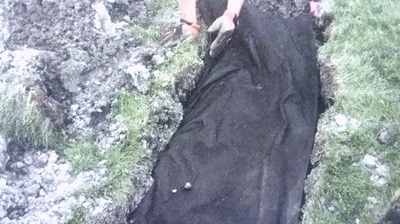
When water pools and collects it can threaten buildings, landscapes, and create many drainage dilemmas. A properly installed French drain may be the answer. In some cases a modest drain can be installed with hand tools, but when bigger drains are needed it would be more efficient to use equipment such as a compact excavator. Once you have determined your drainage needs, and figured out the drain size needed. Check for potential obstacles underground (also call 811 before you dig hotline to find out if any underground utilities lie in the planned path of your drain). Estimate the materials needed such as drainage pipe, crushed stone, and landscape fabric. Don't forget connectors if needed as well as seed, and straw, or sod if you are trenching through a lawn. Set up a laser transmitter to measure depth and slope. Dig entire trench. Stop periodically to check your depth and slope or place a laser transmitter on the arm of the excavator. Level bottom of drain and roll out landscape fabric. After the fabric is in place add approximately 2 inches of stone evenly on top of the fabric along the base of the trench. Cap the beginning of the system. Lay the drain pipe. Fill the trench with stone keeping the pipe in the center of the ditch. Keep adding stone until you have filled the ditch to within 4 inches of the top. Fold the landscape fabric over the top. This helps keep soil from mixing into the stone and eventually clogging the drain. Backfill the trench with topsoil soil, and allow the materials to settle reestablishing the previous grade. The French drain can then be covered with Turf, mulch, or previous materials making it virtually invisible. If you have a wet basement, or water pooling and collecting in unwanted areas you may be able to fix your water problems once and for all by installing a French drain. One final note: the French drain did not originate in France, but was invented by Henry Flagg French who lived in Concord, Massachusetts.
Here is an article that the Afton Chamber of Commerce published in the local Tri Town News.
Business of the month for: August 2014 The Greater Afton Area Chamber of Commerce is proud to spotlight a local business that is rooted in the Afton community. In 2008, Adam Nichols started Cents-Able Solutions, a full time Lawn care and snow plowing business that would serve customers in the Afton area and surrounding communities. The roots of the business were formed when Adam started mowing lawns while he was in high school. Through the early 90′s he could be found mowing lawns and shoveling snow all through the Afton area. After High School Adam joined the Navy and served aboard the USS John F Kennedy aircraft carrier before attending Broome Community College to earn a degree in Business Management. After working in management for several years Adam ventured out on his own, creating Cents-Able Solutions. “Our first year a new customer told me, I just want someone who will take care of my property for the next five years.” recalls Adam. “The idea when I started was to provide a professional service that people could rely on. Now seven seasons later we are still caring for that customer’s property all year round. I even have some of the same customers that I took care of back in high school.” Being a part of the local community is important to Adam. Partnering with the local suppliers, having the support of local businesses, along with referrals from happy customers has contributed to the success of the company. Adam hopes to continue to elevate the level of professionalism within the industry, and create bonds with customers for years to come. Today Adam makes his home in Sanford along with his wife April, and their children Lucas and Jordan. Being a small business owner has not been just about providing a service to customers. Although Adam prides himself on providing professional, honest, and friendly service he is most proud of the lessons he is able to pass on to his children. “Building a small business has been a family affair that has allowed our children to see the importance of our faith, hard work, and integrity.” Although the basics are the same today the scope of the business has changed. Adam now enjoys the assistance of several part time employees and partners with local small businesses. Cents-Able Solutions now serves customers in several counties and into Pennsylvania. In the last few years the addition of dump trucks and compact equipment have allowed Cents-Able Solutions to provide a variety of additional services. In the Summer season they are busy operating weekly mowing routes, typically through the end of October when they begin Fall clean ups. In the winter months they focus on Commercial Snow and Ice Management. They have spent seven successful winters ensuring parking lots and roadways are cleared and safe for tenants, customers, and visitors. To find out more about them Like their page on Facebook, facebook.com/centsablesolutions, or find them online at www.cents-ablesolutions.com. 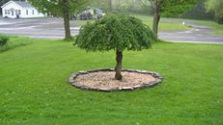 Have you been thinking about some outdoor projects this weekend? Here are some tree mulching tips from http://www.cents-ablesolutions.com. Here is an easy way to protect your trees from mowers and trimmers while promoting healthy growth. Create a mulch ring around your trees with the tips below:
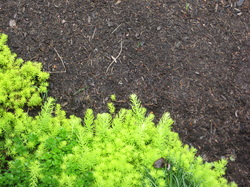 Hardwood mulch Hardwood mulch If you are buying mulch think about this- Using mulch from companies that recycle discarded wood and wood-based products by shredding them and adding a coloring agent to make them appear suitable for use in the landscape can be problematic. These less expensive mulches often decompose faster than natural hardwood mulches and may contain undesirable substances for use in vegetable gardens and children’s play areas. Maintaining a healthy and good looking lawn takes work. Here are a few lawn mowing tips:.
Create a fresh clean look to your property by cleaning out planting beds and renewing mulch. Neglected beds get overgrown with weeds that compete for nutrients with your plants and shrubs.
|
AuthorAdam is the Operating Manager at Cents- Able Solutions, LLC. Archives
January 2017
Categories |
Proudly powered by Weebly







 RSS Feed